Spotlight Field: Checkbox Groups
Configure your checklists as needed with Checkbox Groups
Struggling to understand what the difference between a Checkbox Group and a single Checkbox could possibly be? Checkbox Groups were created with your control and organization in mind. Acting as a collection of individual Checkbox fields, the Checkbox Group allows form creators to control:
Whether or not more than one checkbox can be selected.
The organization of checkboxes (both within the form, and reporting).
Use Case:
From Customer Satisfaction forms to Progress Reports, having more than one checkbox option within a form can lead to confusion, and contradictory data. Checkbox groups help eliminate option selection confusion, and streamline data entry choices.
A perfect example of a well leveraged Checkbox Group, is a Daily Report detailing the status of a project. By using a Checkbox Group, form users can be limited to only one selection, when entering if the project is: Incomplete, In Progress or Completed.
Implementing a Checkbox Group:
1. Drag and drop a new Checkbox Group field (found under Template Fields) onto your template.
2. Navigate to the Field Properties section (located on the right hand side of your Template Editor window) and select the [...] button next to Group Items.
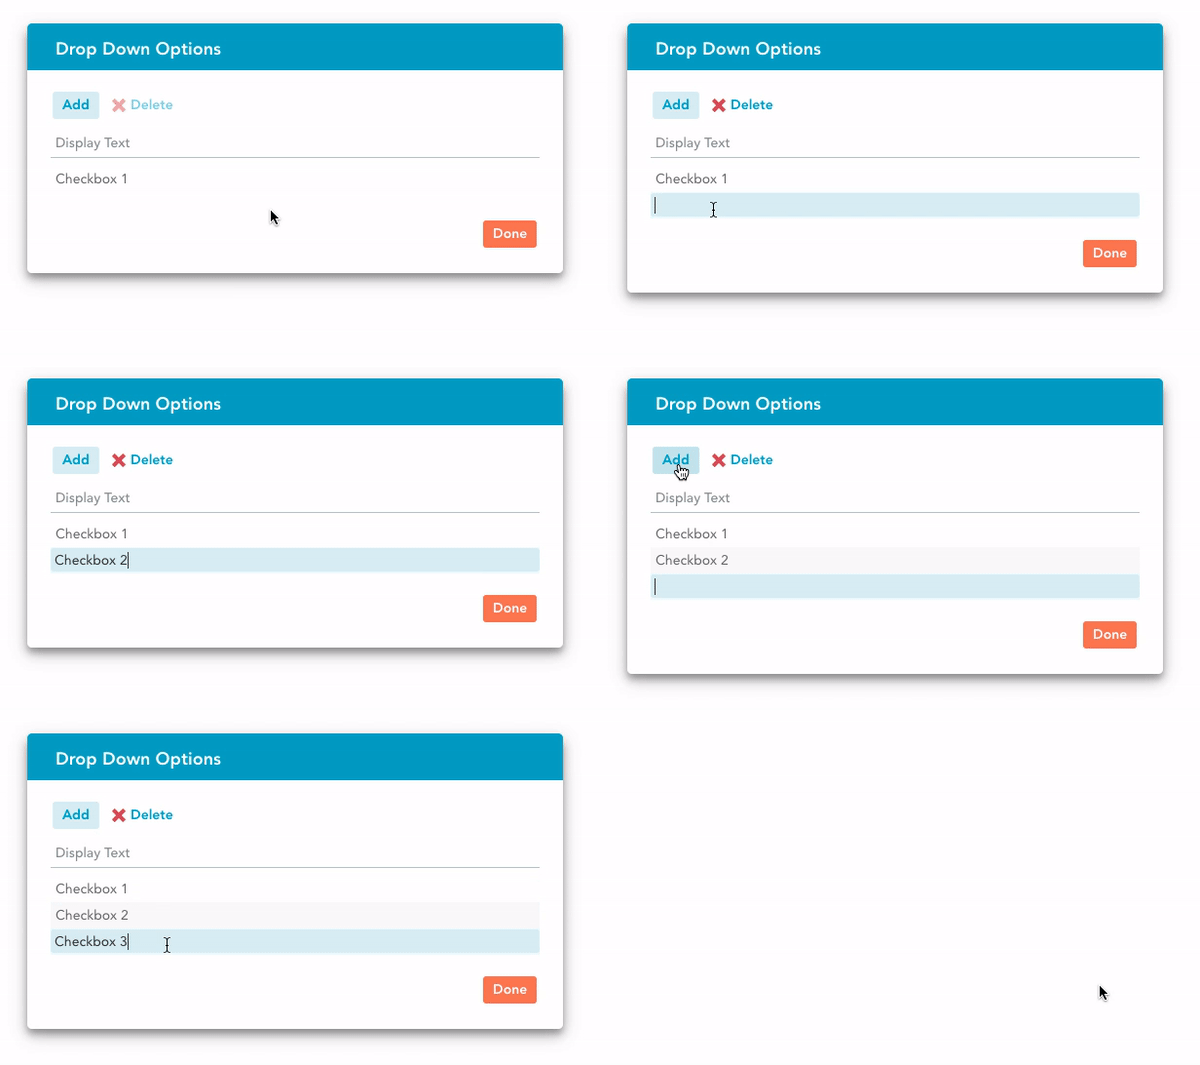
3. Add every option you would like included in the Checkbox Group. Keep in mind that order matters –– the first entry will correspond with the checkbox already included in your template.
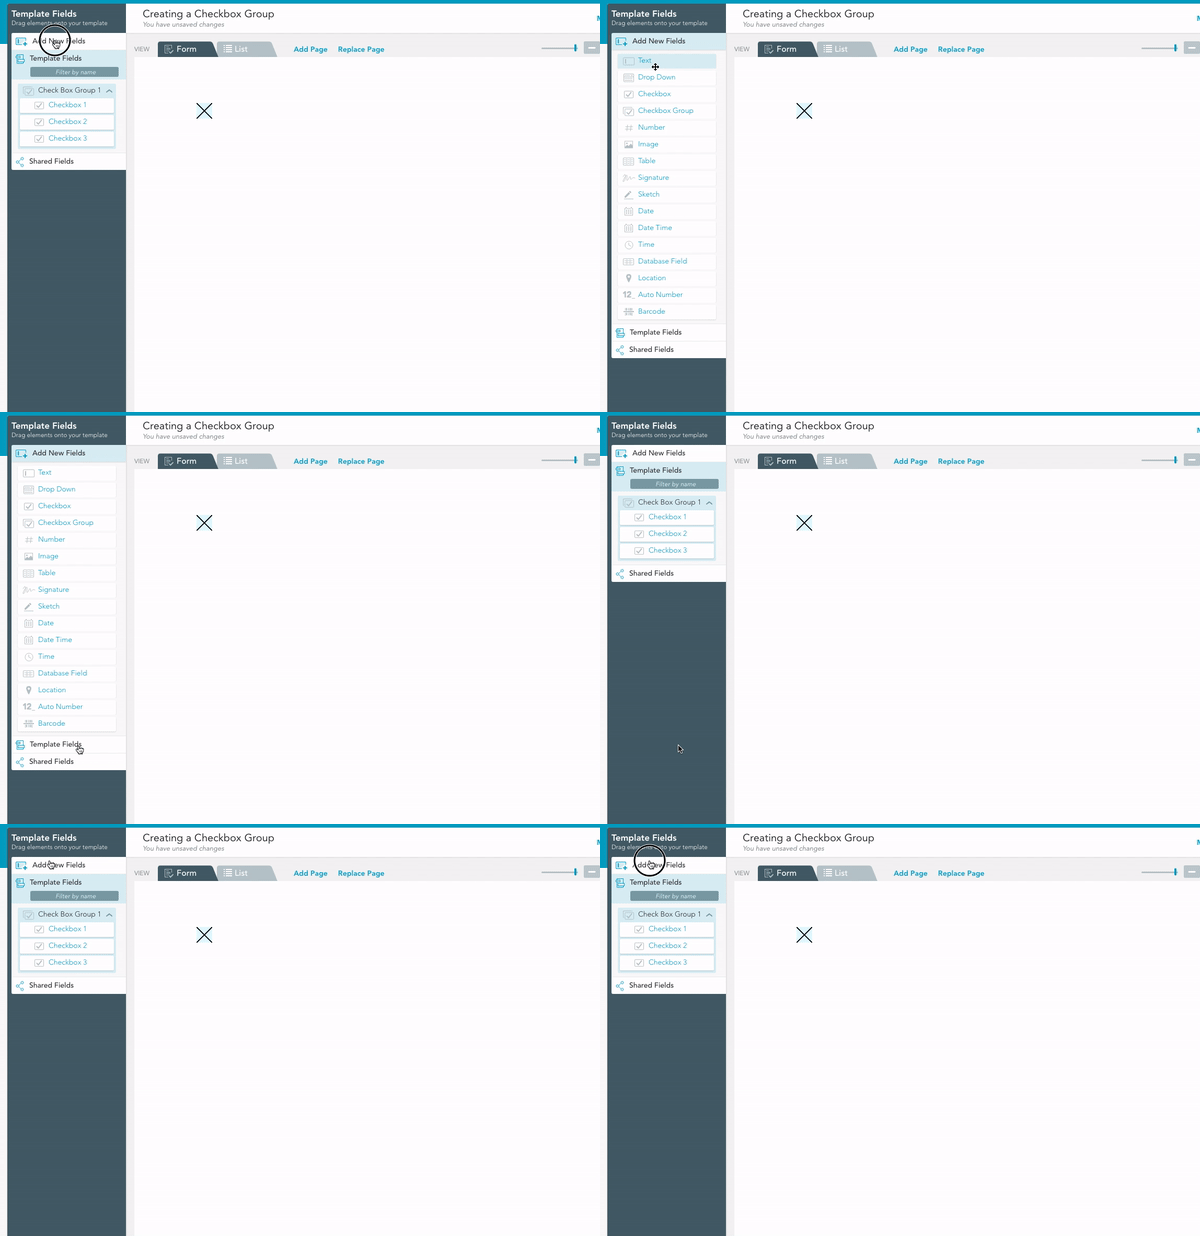
4. Now that we’ve entered our items, we’ll need to drag more checkboxes onto our template.
5. Select the Checkbox Group (made in step one) from the Template Fields, and drag each generated checkbox onto your template.
To Modify Your Checkbox Group:
To modify the selection options of your Checkbox group (e.g. multi-select, display symbols, etc.) navigate back to the field properties section.
Looking for more fields and features to bolster your digital forms? Check out the 7 GoFormz Features You Should Know here.


