ProTip: Configure Your Drop Down Menu
Streamline data entry with Drop Down menus
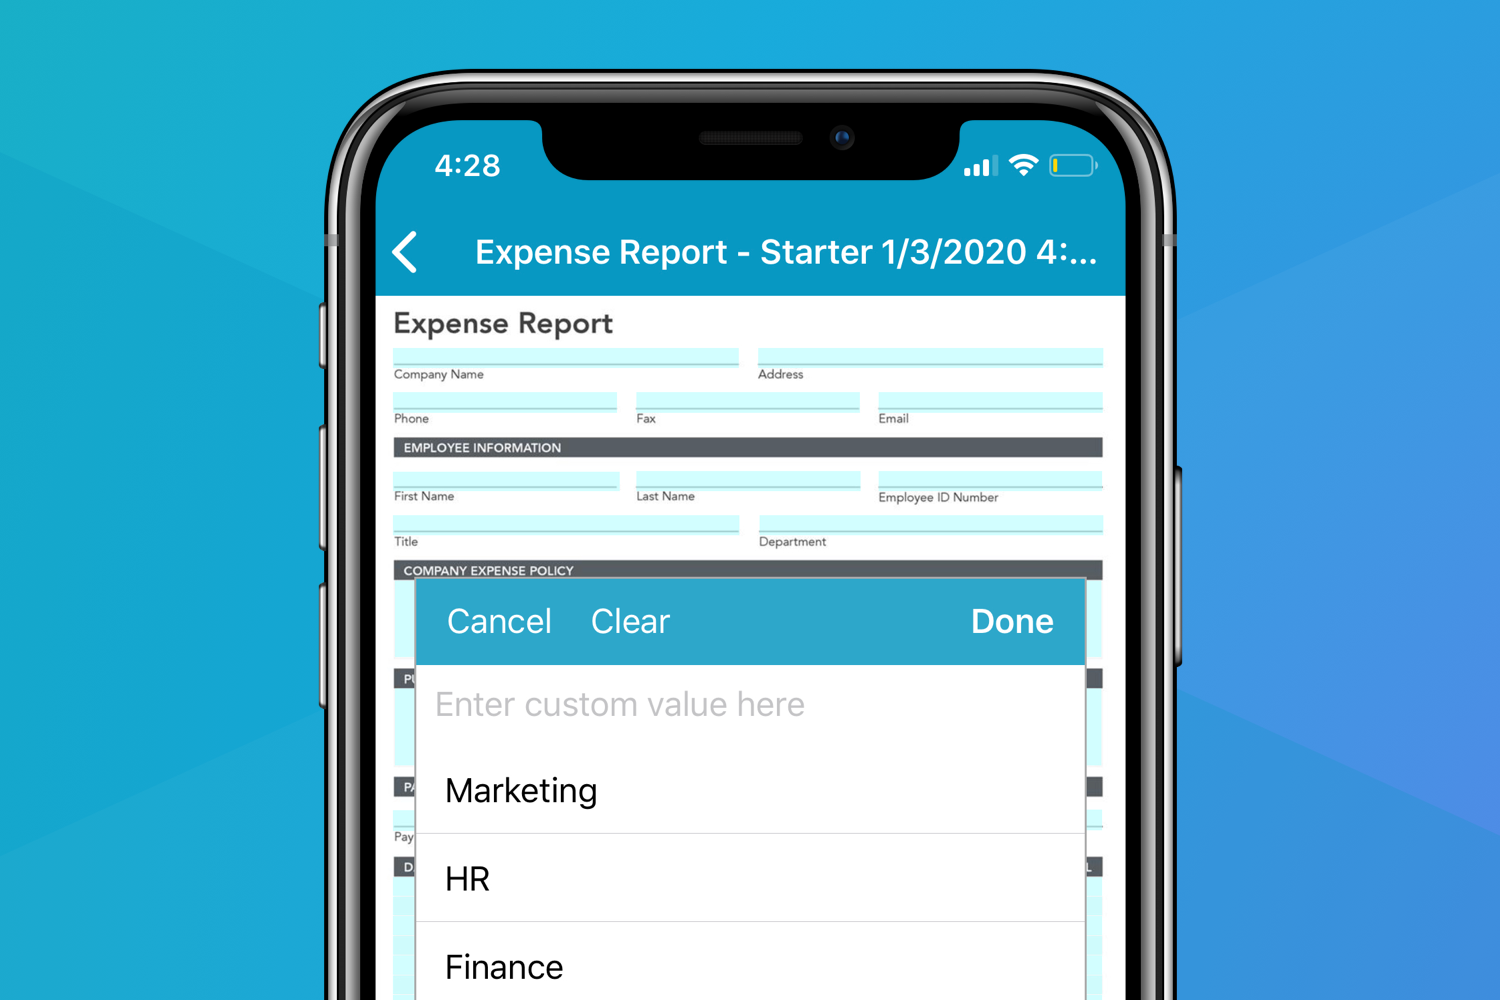
A Drop Down menu is a list of items from which a user can make one selection. Drop Downs can be used to streamline the entry of all kinds of data, such as employee names or departments. By providing users with a pre-determined set of selectable options, form creators can reduce opportunities for error (e.g. misspelled entries) and expedite the completion of form fields.
Your Drop Down menu items can be manually added in the Template Editor or filled with a reusable Collection. For example, you may wish to reuse the same list of employee names within several Drop Downs, and even across multiple templates. To do this, save your list of Drop Down items as a Collection, and then select it when creating employee name Drop Downs in the future. Drop Downs can also be set up to allow write-in entries by setting the Allow Other property to "Yes".
Drop Down menu selections can also be used to reference DataSources, to instantly populate corresponding form fields with pre-existing information. This is actually done with the Database field type, which looks just like a Drop Down, except it draws its list of items from a GoFormz DataSource. For example, if a user were to select an employee’s name from a Drop Down menu, corresponding ‘department’, ‘email’, and ‘phone number’ fields could be instantly filled with their information. Leveraging Database drop downs and DataSources in tandem thus drastically improves data accuracy, reduces redundancies, and saves users time.
Configuring your Drop Down menu is easy. To get started, open your mobile form in the Template Editor. Next:
1. Drag-and-drop a Drop Down onto your Template (or select a pre-existing Drop Down).
2. In the Properties panel, add a name for your Drop Down (e.g. ‘Department’). Then locate ‘Select Items’ and click ‘Customize’.
3. Once the Drop Down Options window loads, you will have the option of inserting a Collection or manually adding items. For this example we will manually add our Drop Down items. Click ‘Add’.
Manually add items to your Drop Down list or insert a pre-existing Collection
4. Now you can enter your desired items, specify their order, set a default, and set a ‘value’ for each item. This value will appear in reports, and will be passed to any formulas referencing this field. Once you have finished adding your items, you can choose to save them as a Collection for future use, or click ‘Done’.
Looking for more ways to improve your mobile form Templates with digital features? Check out how including Conditional Logic in your mobile forms leads to more efficient, accurate data capture.


