
ProTip: Automatically Transfer Forms to Teammates
It is not uncommon for a form to require two or more individuals to fill out specific portions of the form. With GoFormz, you can setup your mobile forms to automatically be transferred to other users. This automated workflow saves time and enforces that the correct team workflows are followed.
Setting Up Automatic Transfers
Setting up an automatic form transfer workflow is easy. First, login to your GoFormz account and open the form Template that you want to apply the workflow to. The first step is to add a Trigger to the Template. (This workflow Trigger will be applied to all individual forms created from this Template.)
In this example, we use a Request for Time-Off Form.
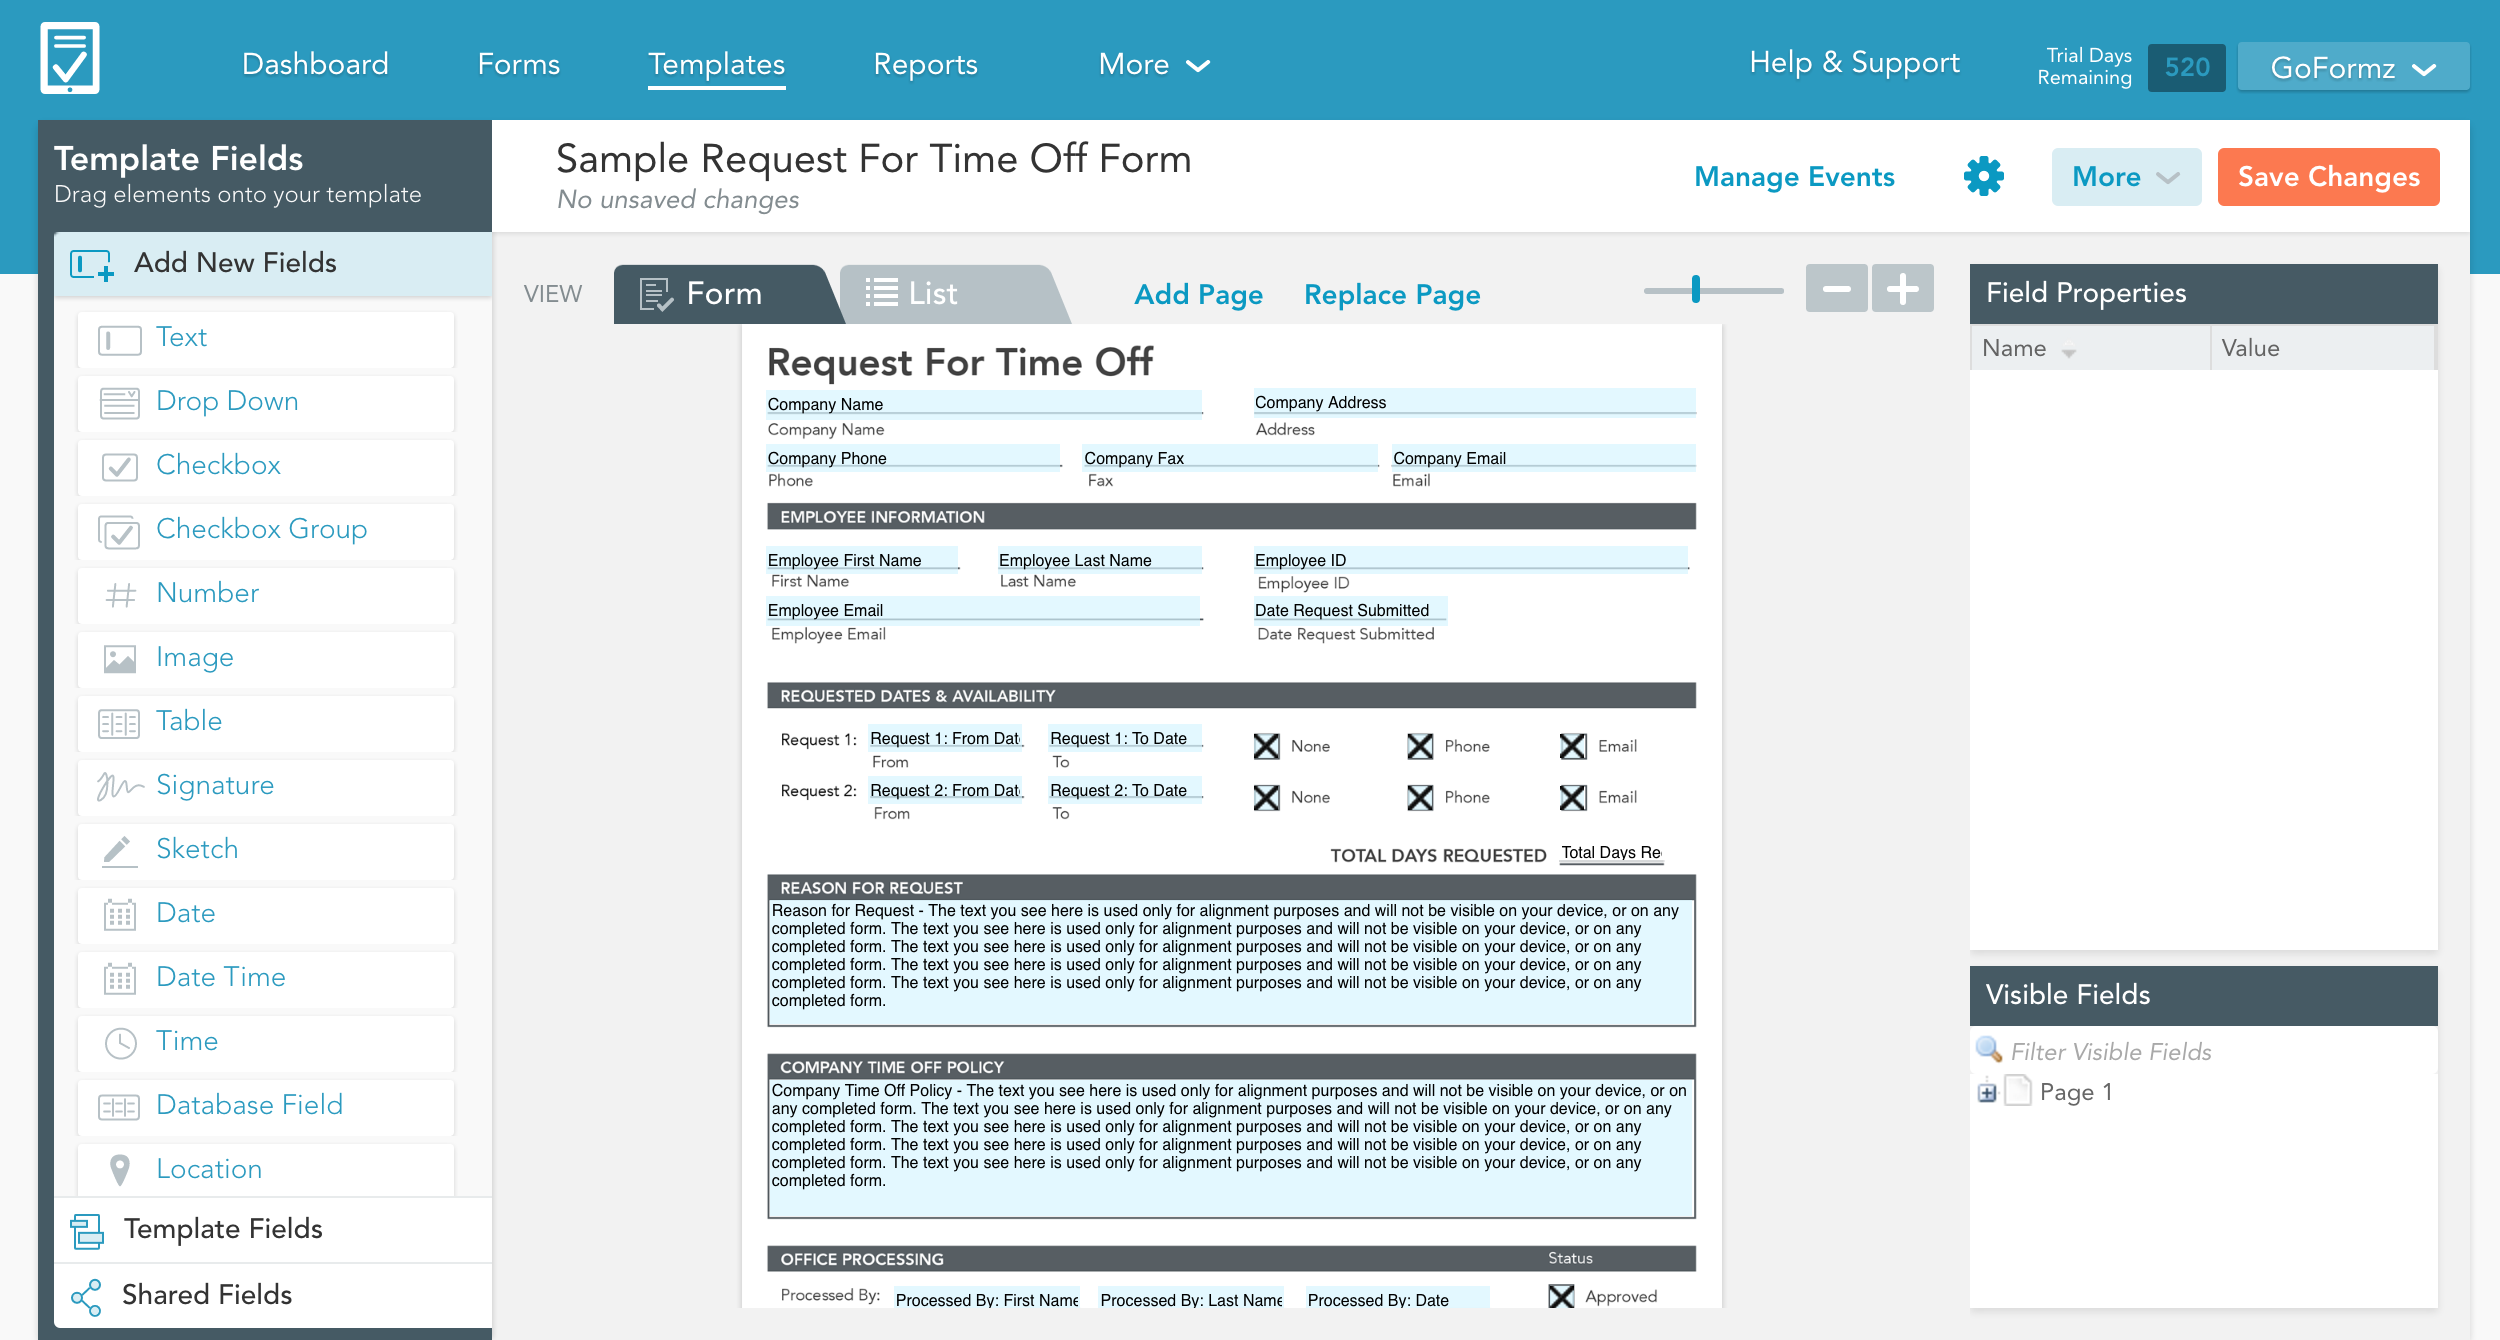
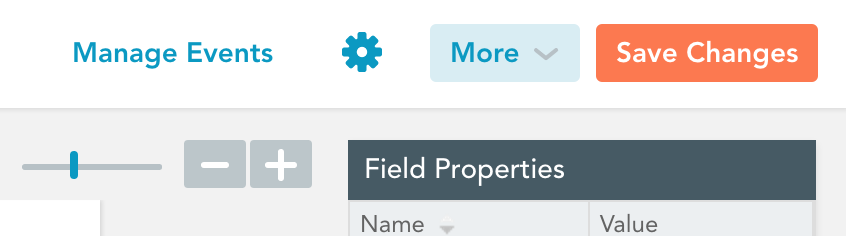
Above you can see the Request for Time-Off Form Template. This form is primarily filled out by one person, the employee, but it also includes an Office Processing section that must be completed by a supervisor who either approves or denies the request. Because of this, we want to apply an automatic form transfer workflow to transfer the form from employee to supervisor. Click on the Manage Events button on the top right of your screen.
The Manage Template Events window will pop up. Now, in this window click on Add Trigger. It defaults to the Automatic email Trigger, which you will change (keep reading!).

In the When this happens section you specify the action that triggers the workflow, and who can perform that action. In this example we want the workflow triggered when anyone completes a form.

In the Do the following section you decide what workflow takes place. You will want to click on the dropdown menu and select Transfer.

Your Manage Template Events window should now look like this:
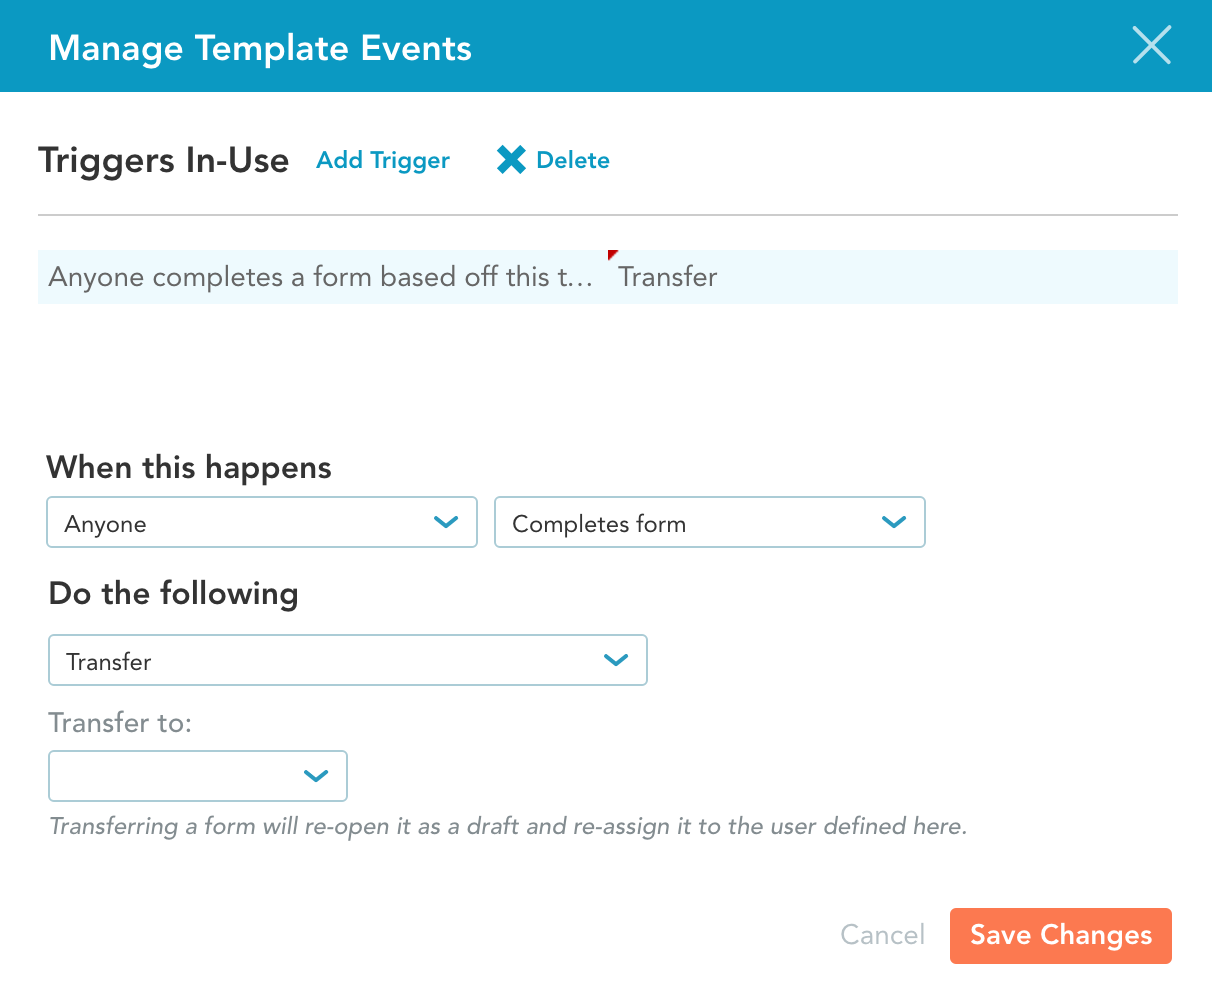
Notice the new field labeled Transfer to: appears in the Do the following section. Here you select who the form is transferred to after the employee completes their portion.
**Note, you can only transfer forms to other users within your account**
In our example, we want our requests for time-off sent to the office for processing. So we select the user named Main Office in the drop down menu.
Lastly, you click Save Changes in your Manage Template Events window. Then click Save Changes in the top right corner of your template editor to save all changes to your form Template. Your Trigger has officially been setup!

Learn how to apply the Automatic Email workflow to send an email back to the original user once the form is entirely complete.
