ProTip Basics: Add Pictures to Your Mobile Forms
Mobile forms unlock a whole new set of digital data types that you and your team can include on your forms. Among them, Image fields are some of the most popular. A simple glance at a photo on your form can convey as much information as reading half a page of text can - recalling the old adage that a picture speaks a thousand words.
At this moment, you can probably think of several forms that could benefit greatly from including images. Follow these steps below to include the image fields in your mobile forms:
Step 1: Open Your Template in the Editor
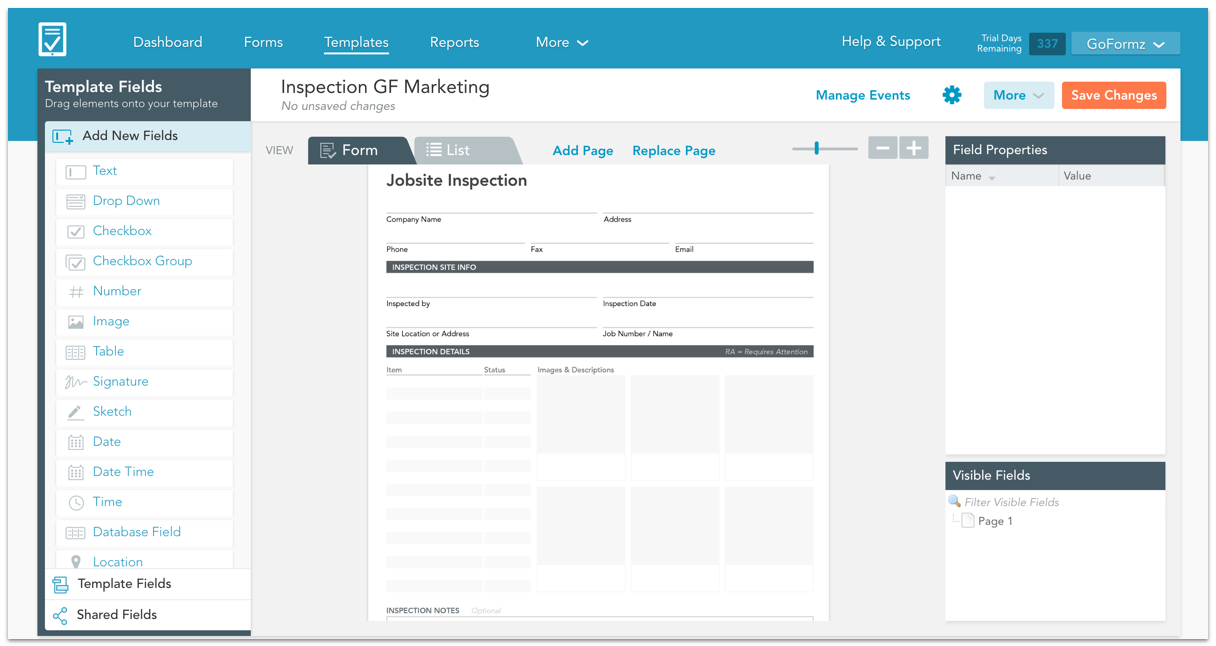
To get started you will first want to login to your GoFormz account and open the mobile form template that you want to include photos on:
Step 2: Drag and Drop the Image Field
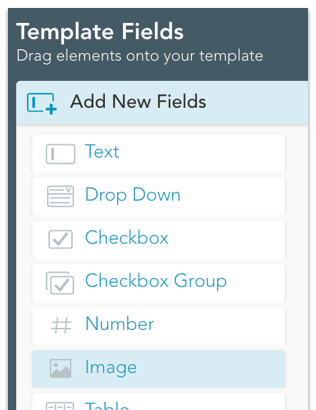
Once you open your mobile Form Template in the GoFormz Template Editor, please locate the Template Fields Table located on the lefthand side.
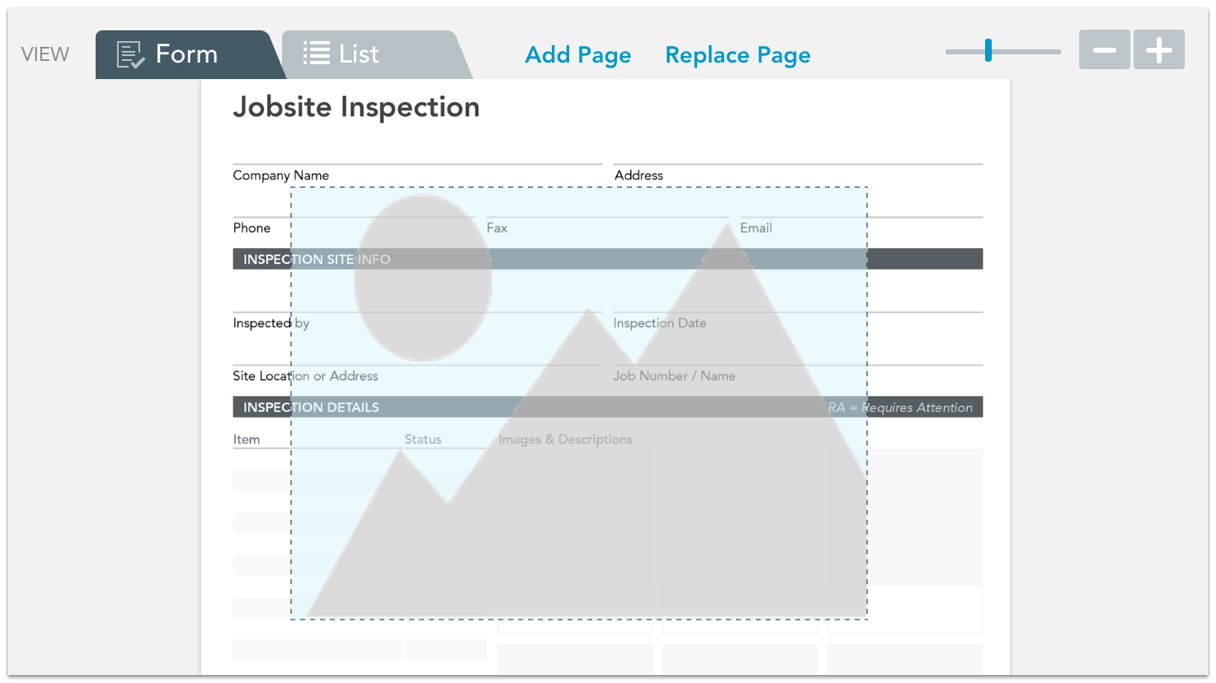
Now, simply click and drag an Image field onto your mobile Form Template.
Step 3: Format and Edit
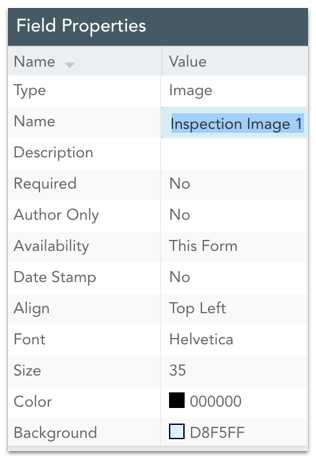
As you can see, the Image field is initially unformatted. With the field still selected (dashed lines around it indicate it is selected) either click and drag on its edges, or use the Field Properties Table on the righthand side to resize the field.
Within this table, be sure to also name the field and explore the other property options to ensure you have formatted the Image field to your liking. Once you have done this, move the field to its appropriate location by selecting and dragging it or by using the arrow keys on your keyboard. Adding Image fields to your mobile forms is that simple.
Bonus Tip: If you are adding multiple images like in our example here, after properly formatting your first Image field the subsequent ones will be formatted the same. This can save you a lot of time!


